

Effortless web app deployment using ansible playbooks
A guide on deploying web applications on remote servers using ansible


Image from unsplash.com by Travis Leery
You are the DevOps Engineer in a reputable organization, you receive a request from your manager asking you to deploy a new web application. What do you do? Load up your CLI, install the required web server (Nginx, httpd) depending on your operating system, copy the website files to the required directory, give the correct file permissions and so on. Let’s take a look at a hands-on example
First we install httpd in our web server Ec2 instance,

#login to your ec2 instance
#Example
ssh -i keypair.pem ec2-user@34.20.45.211

sudo yum upgrade -y
sudo yum install httpd -y
Take note that the default web directory for httpd is '/var/www/html '
#Copy the folder from your local machine to your Ec2 webserver
# instance. You have to be logged out of your ec2 instance
# or run this command in a new terminal
scp -r -i /path/to/your/ec2keypair.pem path/to/web/folder ec2username@ec2publicip:/path/to/directory/
#Example
#i have my kepair and web application folder in my downloads folder
#on my local machine
cd downloads
#copy folder mosointerior from local machine
#To the tmp directory in my ec2 webserver instance
scp -r -i keypair.pem mosointerior/ ec2-user@99.79.10.171:/tmp/
#Login to your ec2 instance.
#Example
ssh -i keypair.pem ec2-user@34.20.45.211
#copy the folder from the tmp directory to /var/www/html directory
sudo -i #change to root user
cp -r /tmp/mosointerior /var/www/html/
#move to the /var/www/html directory
cd /var/www/html
#confirm the folder is copied
ls
#restart httpd
sudo systemctl restart httpd
#or start httpd if it wasn't started earlier
sudo systemctl start httpd
#check the status of http and ensure its active
sudo systemctl status httpd


Copy the public IP address of your Ec2 instance followed by the folder name i.e. http:52.60.5.71/mosointerior. This serves the index.html file in the mosointerior folder we copied to the /var/www/html directory. Also, ensure that your ec2 instance's security group allows http access from anywhere. This allows anyone to enter the public IP address in their web browser so they can view your web application. I know in the real world your users will be required to enter a URL such as example.com to access your web application from their browser, we will not be going into how a DNS works. This is just a demo.

Everything works, the web page is up and running and your users can access your website. Your manager is happy and your users are happy.
Weeks later, Your manager comes to you about adding more webservers and uploading the same web application on all organization web servers. You are tasked to upload the web application on 10 additional servers. What do you do? Go through the process of manually updating the OS, and installing the web server on all 10 servers. Yes, I know you could do that. But aside from this being a very painful and slow process prone to mistakes, it is certainly not maintainable in the long run. Imagine you have to update some files in all 10 web servers, you do that manually, everything works, and then your server size grows to 30 web servers, this manual process is certainly not a good practice at this point.
This is where Ansible helps. Ansible makes it easy to automate and manage remote systems. Using Ansible lets you automate any task. It helps you eliminate repetition. it uses simple, human-readable scripts called playbooks to automate your tasks.
Ansible makes it easy to automate and manage remote systems. It helps you eliminate repetition
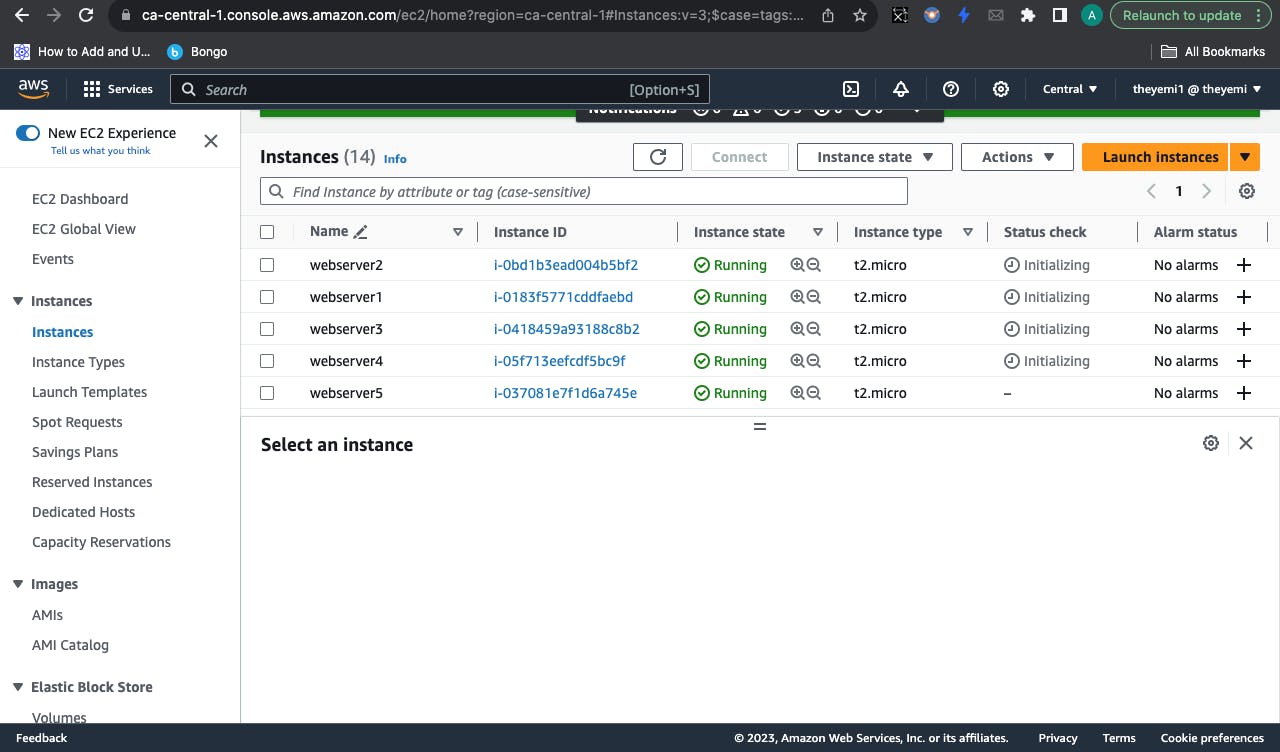
Let's take a look at how we can deploy our web application on all 5 web servers we currently own.
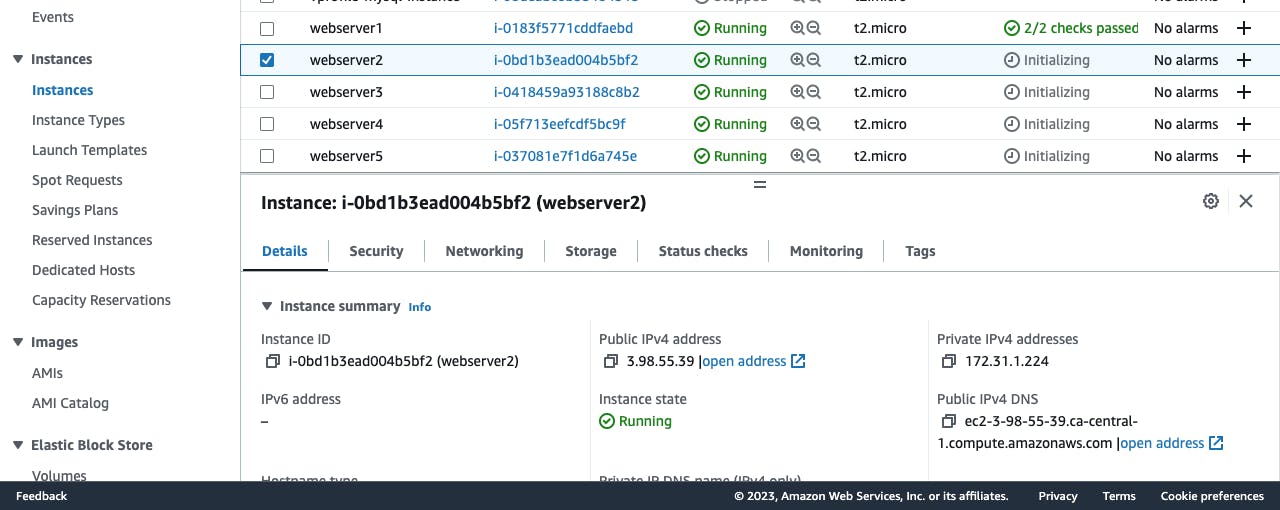
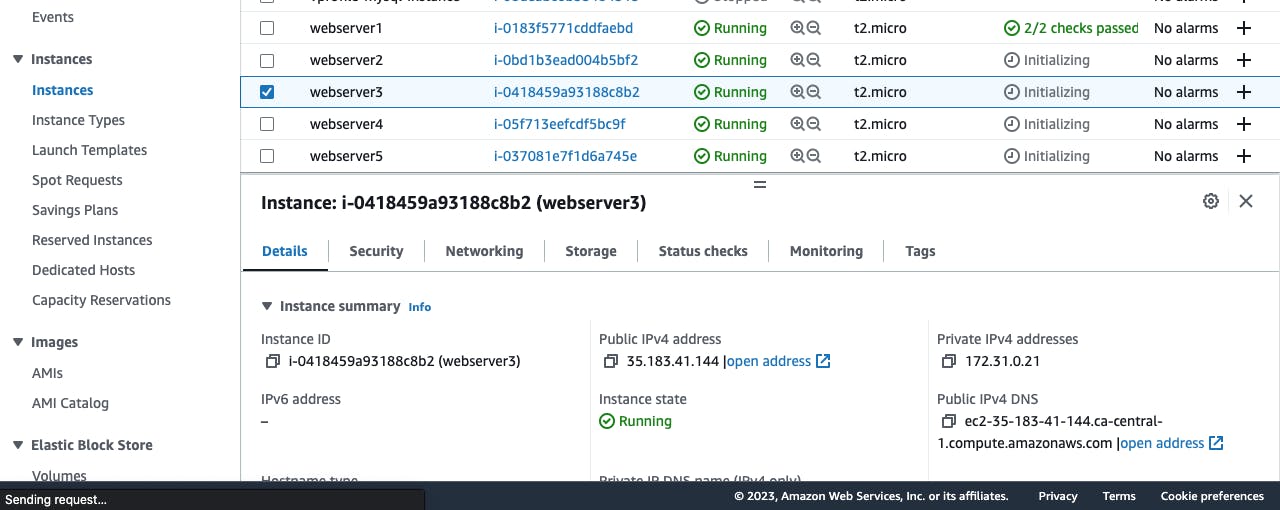
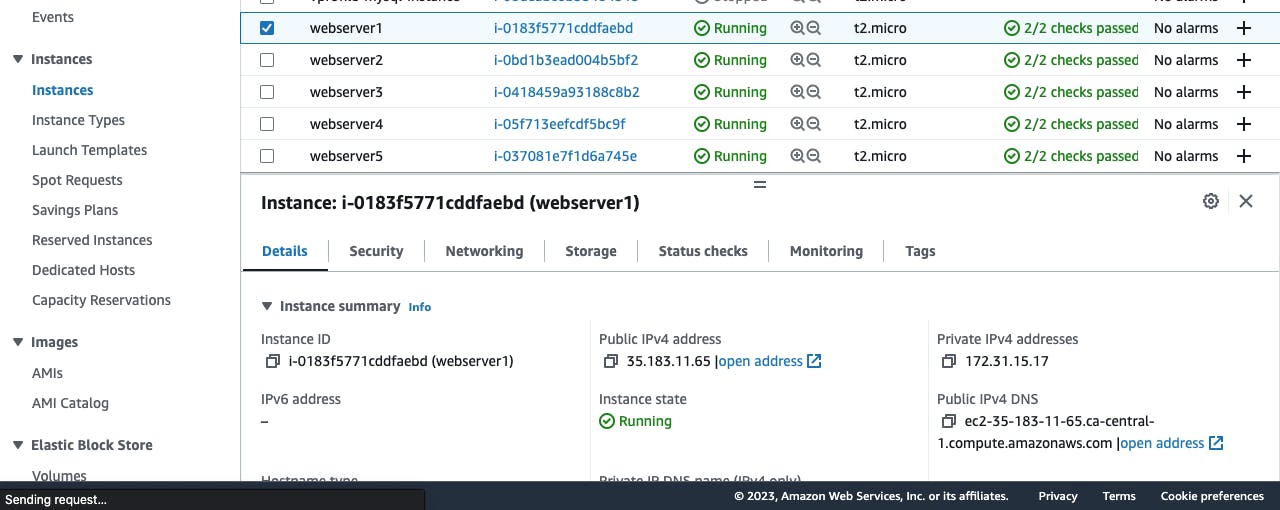
We will be using Ec2 instances on Aws. These instances are running on the Redhat Os.
To run playbooks, we will need a host machine where we can run all Ansible commands. This is known as the control node. On this control node, we will install Ansible, set up the configurations and add the list of remote hosts we want to control and deploy our webservers on. This list of remote hosts is called an inventory and the remote hosts are the managed nodes.
For the remote host, we will be using an Ec2 instance running on Ubuntu with the security group set to allow SSH from anywhere. You can set it up to only allow ssh from your IP address only if you are security conscious.

On your PC, login to your remote host using your terminal with the following command
ssh -i keypair.pem ubuntu@ipaddress

Install and set up Ansible and copy your keypair.pem file from your local machine to your ansible host Ec2 instance.
sudo apt update
sudo apt install ansible
#create the default ansible config
ansible-config init --disabled > ansible.cfg
#confirm the ansible version
ansible --version
Take note of the public ip address of each instance. We will be using them for the inventory file.
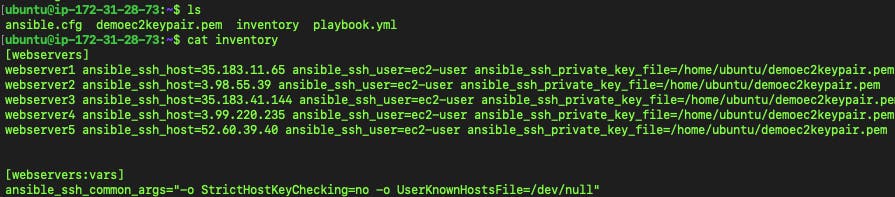
Create an inventory file. Your inventory defines the managed nodes you automate, with groups so you can run automation tasks on multiple hosts at the same time. The simplest inventory is a single file with a list of hosts and groups
#create the inventory.ini file
vi inventory
Add your webservers IP address and path to your keypair
#the default username for redhat Ec2 instance is ec2-user
#for ubuntu the default username is ubuntu
#we are using redhat instances for our web servers
[webservers]
webserver1 ansible_ssh_host=ipaddress ansible_ssh_user=ec2-user ansible_ssh_private_key_file=/path/to/keypair.pem
webserver2 ansible_ssh_host=ipaddress ansible_ssh_user=ec2-user ansible_ssh_private_key_file=/path/to/keypair.pem
webserver3 ansible_ssh_host=ipaddress ansible_ssh_user=ec2-user ansible_ssh_private_key_file=/path/to/keypair.pem
webserver4 ansible_ssh_host=ipaddress ansible_ssh_user=ec2-user ansible_ssh_private_key_file=/path/to/keypair.pem
webserver5 ansible_ssh_host=ipaddress ansible_ssh_user=ec2-user ansible_ssh_private_key_file=/path/to/keypair.pem
#disable strict hostkey checking
#This setup will automatically accept new host keys without manual confirmation.
[webservers:vars]
ansible_ssh_common_args="-o StrictHostKeyChecking=no -o UserKnownHostsFile=/dev/null"
Create a playbook.yml file. In the playbook, input the following code
---
- name: Upload web application on all web servers
  hosts: webservers  # Replace with the name of your server group from your inventory
  become: yes         # Run tasks with sudo privileges

  tasks:
    - name: Install httpd
      yum:
        name: httpd
        state: present

    - name: Start and enable httpd service
      service:
        name: httpd
        state: started
        enabled: yes

    - name: Copy web application folder content from host to remote
      ansible.builtin.copy:
        src: /tmp/mosointerior/
        dest: /var/www/html

    - name: Restart httpd service
      service:
        name: httpd
        state: restarted
This playbook runs on all hosts in the webserver group recorded in the inventory file. We install httpd, start and enable httpd service, copy the files of the web application directory using the ansible copy module to the httpd /var/www/html directory and restart the httpd service.
To run the playbook, run the following command.
ansible-playbook -i inventory playbook.yml
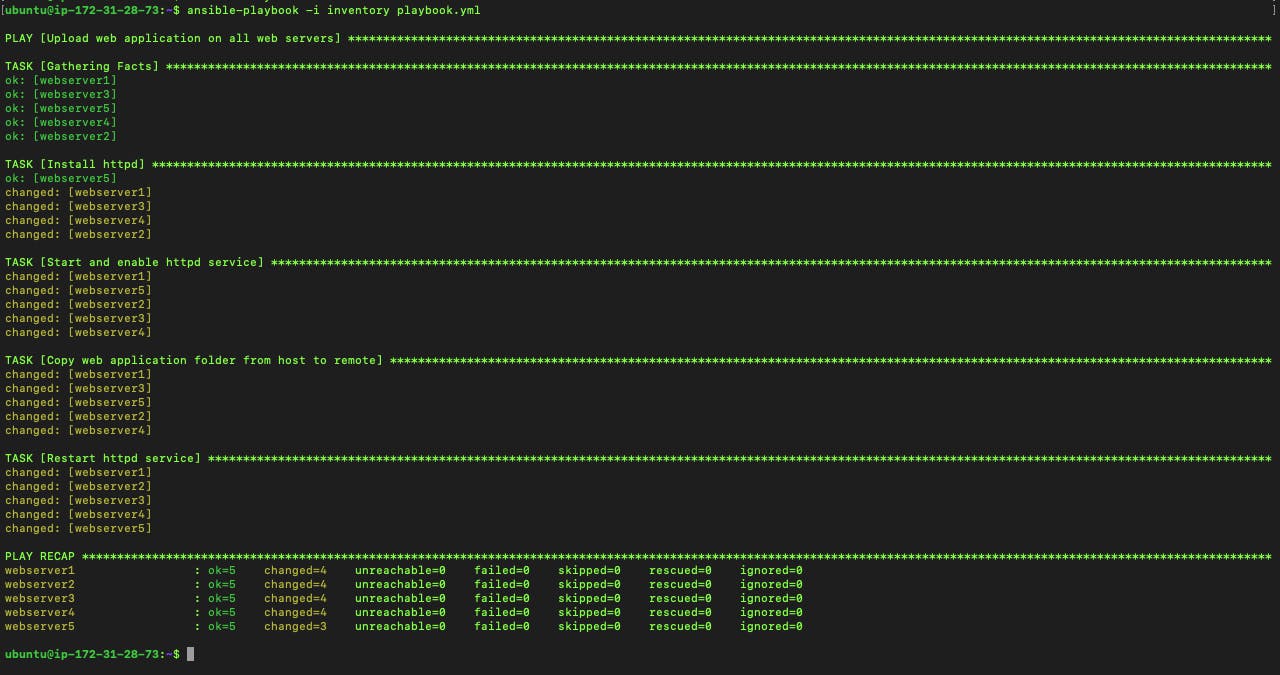
Using ansible playbooks saves you a lot of time. This playbook runs within seconds and works on all remote host machines. To confirm the playbook worked, we can ssh into any of the Ec2 instance webserver and check the content of the /var/www/html directory.

Copy the public Ip address of any of the Ec2 instance in your web browser and you get the website loaded up.

When you are done, ensure you clean up by Stopping all running instances so you don't incur a heavy bill. You can also terminate all instances you no longer need. Also, delete the EBS volumes as you are still charged for any EBS volumes in your Aws account.